
7 Simple Tips for a Flourishing Garden!

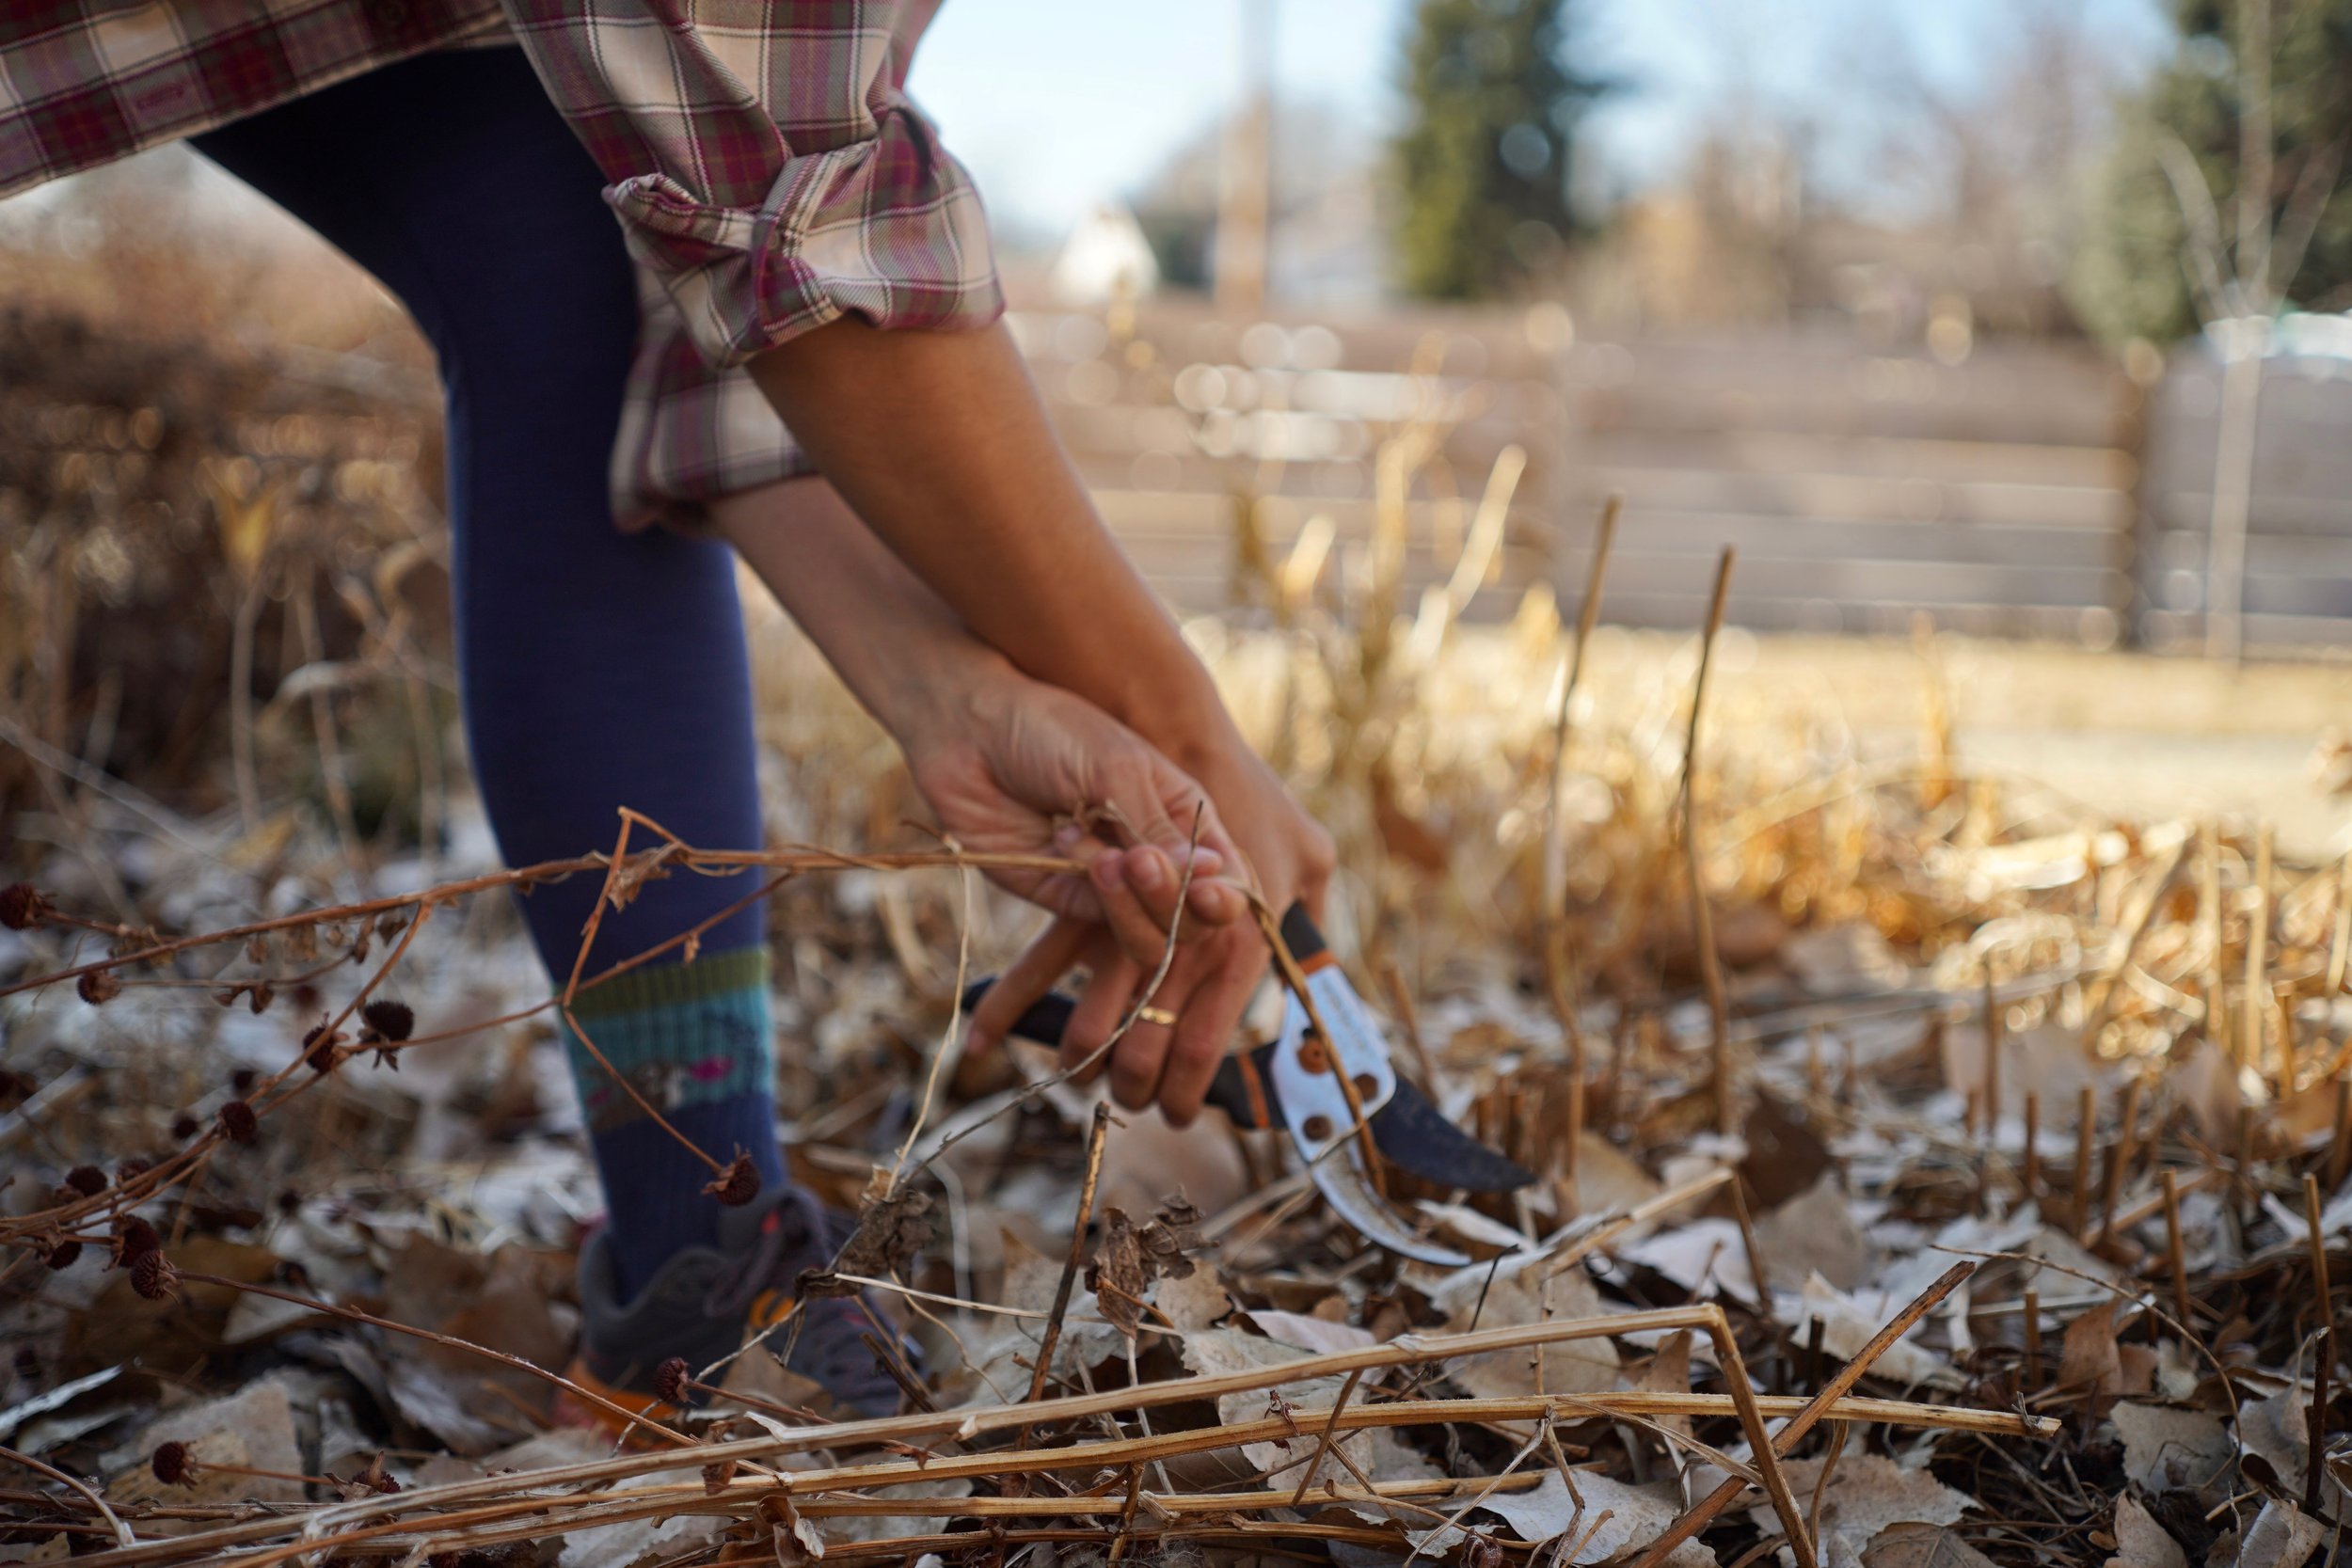
1. Clear Out Your Beds
The first step to a glorious garden in Colorado is clearing out your beds from the Winter mayhem. I recently learned the benefits of keeping leaves on my garden beds throughout the Winter months (more on this later), so in the Fall, I take all my leaves and pile them onto my beds. When Spring hits, I have a big, leafy mess on my hands to clean up, along with all the plants I promised myself I’d cut back in the Fall but never did. I like to dedicate about an hour per day for about a week to rack up all those matted down leaves, cut back my perennials, and compost it all.
Side Note… compost those leaves and drop them off at sites like this, or if you live in Denver, load that green compost bin up for the city to take - no bag necessary. Have your own compost pile at home? Even better!

Click here to snag a compostable bag! Just ignore any big-box store marketing on the sides :)
2. Rejuvenate the Soil
Simply put, soil health = garden success Having a lush garden ultimately starts with building healthy, active soil. Soil science (agronomy) is… an endless dive. So for the sake of simple tips and a quick read, here are three things that will instantly help your soil get the nutrients it needs to support your plants this coming season:
Add organic matter, or leave it in from the previous year.
Add compost (read tip below)
Add Mulch (also read tips below)
Rotate Crops
3. Compost
Compost is simply decayed organic matter that you add to your soil to improve fertility and structure. If you compost yourself, use that. If you are like me and need to purchase your compost, here are a few (of the many) places you can go around town!
Colorado Compost! They are at City Park Farmers Market and do an incredible job. Plus they are a small, passionate business.
City of Denver Compost: It’s full circle from the food waste we dispose of which is awesome, but it also comes in small, rather expensive plastic bags.
Pioneer: The past few years I’ve needed a lot of compost in my ever-expanding garden, so I take a tarp lined truck bed and get a yard or two of compost from Pioneer. You will need a truck or trailer if this is the option you choose - they just have a tractor to dump dirt where you need it. It’s probably not the highest quality out there, but it is affordable and avoids getting compost in plastic bags.
Spread 2-3 inches of fresh compost over your garden beds.
If it’s your first season with a garden and the soil needs some love, work the compost into your existing soil pretty well.
If you have an established garden, you can lightly work it in and let the worms do their job.
Add worm castings aka worm poo This seems pretty extra, but let me tell you... It makes a HUGE difference. Last year I wanted to experiment, so I added worm castings to one of my veggie beds while excluding it from the others, and the difference in plant size and veggie health was huge! Needless to say worm castings will be going in all of my veggie beds this year.
Where in the world am I supposed to find worm castings?! You’re in luck, because Auntie M’s Garden is vending at the market this season for the first two weeks and they will be selling worm castings! Don’t miss it.
Want to go the extra mile and really figure out how to support your type of soil? Get it tested. A soil test will tell you about the fertility of your particular soil, how fertile your soil is, and what you need to do to improve it.
4. Split and Transfer Perennials
Free plants anyone? This is the time of year when you can split up plants and relocate them to other parts of your garden. I kid you not, every time my grandmother comes into town from Cleveland, she brings (yes on the plane) perennials from her sprawling garden that I have requested. Last year, I was able to acquire some beautiful hellebores and even some ramps to grow! I also have many plants from neighbors and other family members. It makes my garden that much more meaningful, not to mention cost effective! Mid-spring is also a good time of year to rearrange any perennials you think would work better in a different place.
5. Seedlings Time
My grandmother is the queen of seedlings - she beats me to the punch every year. If you have grow lights, now is a great time to get started with some of those perennials! If you don’t have grow lights, I’d recommend waiting until we have sunnier, warmer days so you can place seedlings by bigger windows or outside if warm enough.
6. Mulch is a Must
Thinking about cutting corners and skipping out on the mulch? Been there, done that… won’t be repeating.
Here are my top three reasons why you should never skip mulch in Colorado:
Helps structurally support your soil.
Retains moisture and helps maintain soil temperature (we need this in CO!).
Cuts down on unwanted weeds.
Helps prevents diseases.
What to use as mulch?
Skip the pricey bagged mulch from garden supply stores (and cut down on plastic) and take a peek at my favorite mulch options. Other organic matter to use for mulch in order from $$$ to $.
$$$ Shredded Bark/Wood Chips. I use the wash cedar in my front beds. The two yards I get each season covers 4 different garden beds in our Denver yard.
$$ straw or hay (Straw is the better option for garden beds.).
$ newspaper, grass clippings, pine needles, leaves.
Tips:Whatever you choose to go with, just make sure that your mulch doesn’t compact easily, won’t hinder water from soaking into your soil, isn’t a fire hazard, and will eventually break down easily into your beds.
Do NOT mulch too early as it can slow down the warming process of the soil and hinder plant growth (my rec is mid to late spring).
7. Clean and Sharpen Garden Tools at the Market
I don’t have expensive garden tools, and by Spring time they are usually rusted over from me unknowingly leaving them somewhere in the yard... For years, I have used rusted and inexpensive garden tools, and truth be told it’s been fine. But it wasn’t until last season that I took the rusty old tools to The Sharpist at the market when I realized how enjoyable and easy trimming plants with nice, sharp tools could be! Do yourself a favor and take your garden tools to The Sharpist first thing in May! The Sharpist will be at the market the first Saturday of every month this season (my advice… go early!).
*BONUS CONTENT
BECAUSE I HAVE SO MUCH I WANT TO TELL YOU… 7 TIPS JUST AREN’T ENOUGH.
For Those Home Gardeners Who Might be a Bit… Extra.
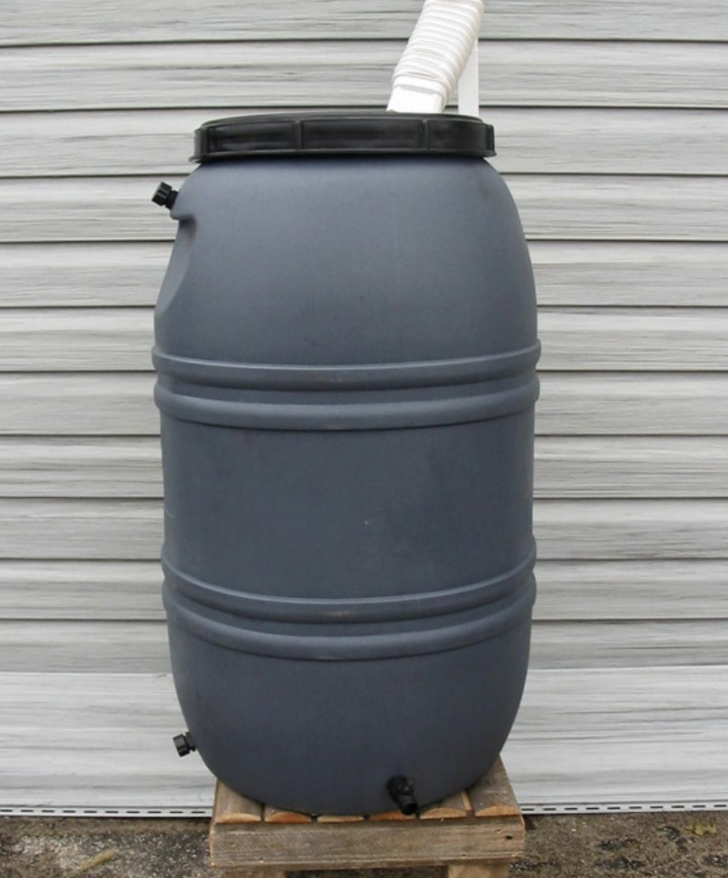
Start collecting rainwater!
Rainwater is a great way to conserve resources. Collecting rainwater simply allows you to control runoff from your roof or your porch and use it in your garden! Here are some options I like for your average backyard gardener:


Worm bins!
I was gifted a worm bin last year and y’all… it is the crown jewel of our backyard garden. Worms help break down vegetation quicker, many of your kitchen scraps can go straight into this bin, and in return you will receive luscious compost to help amend your soil!

The Hungry Worm Bin - this is the one we have and I highly recommend it (warning its a bit on the pricier side).
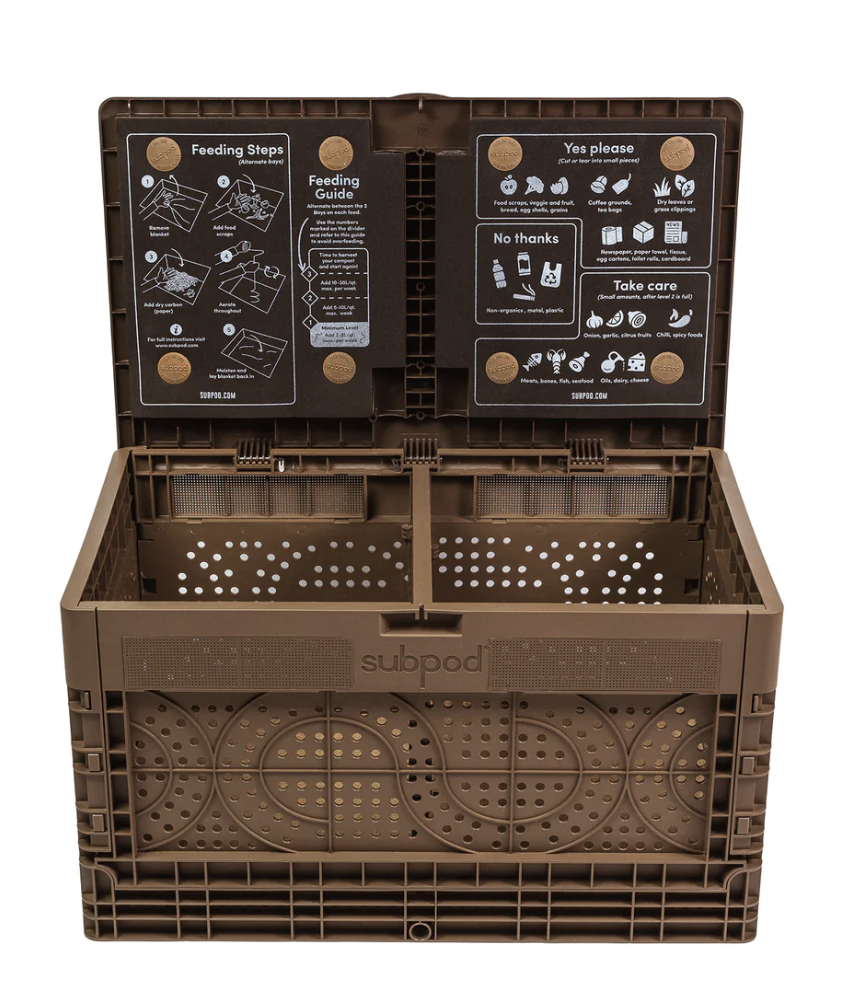
Another popular worm bin is the Subpod. Its goes right inside the dirt in your garden and it’s hardly even visible!
Other Spring Gardening Essentials
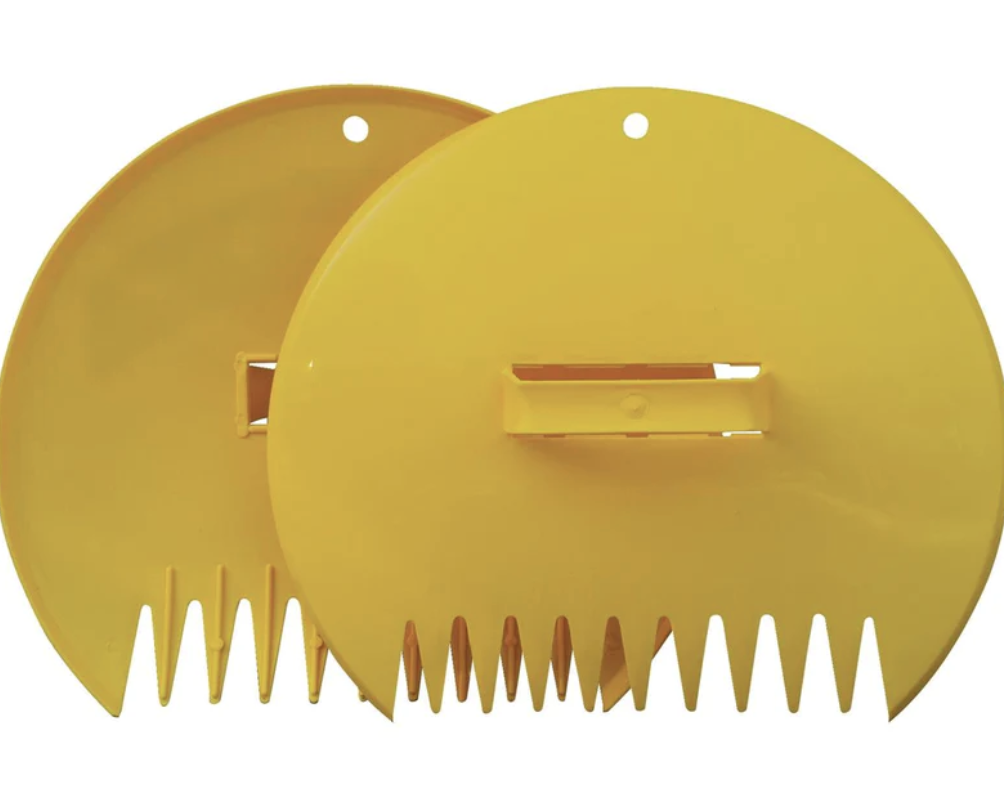
These hand rakes - highly recommend for your Spring cleanup.
My grandmother calls this her ‘everything tool’ and I can see why. This tool is truly all-in-one!


Once a wellies gal, always a wellies gal. These garden (and beekeeping) shoes are my forever go too!
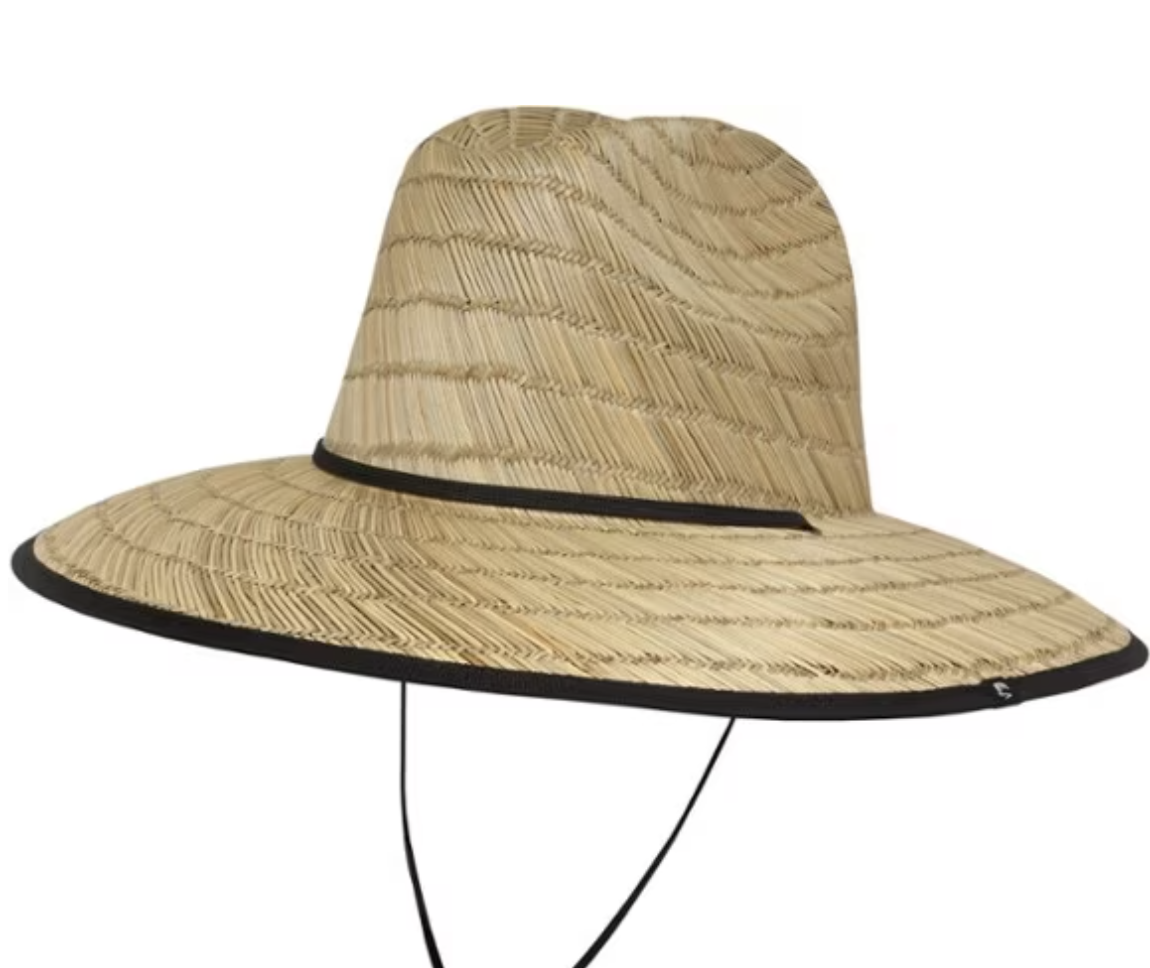
Since getting pregnant, I have had some melasma in my face that appears most prominently in the sun… so I am now a full face coverage gal. These are my top 2 garden hats because they stay on the head even in the wind and they actually block the sun!

My go-to weed killer: Because we can all agree… Round Up is terrible. If you simply have too many weeds to pull or you are trying to get rid of small weeds between rocks, this homemade, all natural weed control will do the trick!
Spray it on unwanted weeds during a hot, sunshine filled day and voila! … those unwanted weeds will be (mostly) gone.
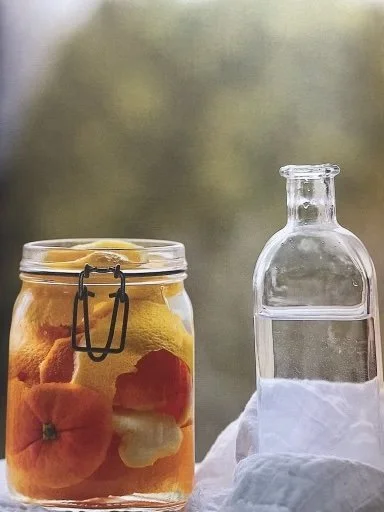
Ingredients3 Cups Citrus All Purpose Cleaner
To make: 2 cups citrus peels + 3 cups vinegar (apple cider or distilled)
3 tablespoons citric acid
1 1/2 teaspoons castile soap or sal suds
In a 16 ounce spray bottle, combine the undiluted cleaner and the citric acid. Screw on the cap and shake well. Add the soap and screw on top again.
To Use: Thoroughly spray on leaves and stems of weeds. Make sure you spray on a sunny day and be careful to not spray on any garden vegetables.
** safety: keep cates away from treated area for a few hours after applying… the natural oils could be dangerous to them.
Be careful of where you spray any sort of weed-be-gone - even this natural one. It can also harm plants you actually want alive. My first go to is to simply get out in the garden and dig them up!
Ok this is really the end. Cheers to Spring garden bed cleaning, friends! My hope is that these simple yet impactful tips will lead to you to a vibrant garden!
Cheers,
Margo, Co-Owner, City Park Farmers Market
Sources:Muckle, S. (2016, April 13). Preparing the Garden for Spring | Gardener’s Path. Gardener’s Path. https://gardenerspath.com/how-to/preparing-garden-for-spring/
Soil Preparation: How Do You Prepare Garden Soil for Planting? (2023, March 7). Almanac.com. https://www.almanac.com/soil-preparation-how-do-you-prepare-garden-soil-planting
Mulches for Home Grounds - 7.214. (n.d.). Extension. https://extension.colostate.edu/topic-areas/yard-garden/mulches-for-home-grounds-7-214/
Simply Living Well: A guide to creating a natural, low-waste home. (2020). Houghton Mifflin Harcourt Publishing Company.